


01 / ROUTE
Understand where you ride
Busy streets, low-light routes, mixed surfaces and longer commutes can change which protection, lighting, storage and repair items deserve priority.
PedalVale Cycling Guides bring the essentials together in one place—from helmets and visibility to storage, repair, maintenance and accessory fit—so you can make clearer decisions before the next ride.

Busy streets, low-light routes, mixed surfaces and longer commutes can change which protection, lighting, storage and repair items deserve priority.
Helmet sizing, handlebar diameter, rack compatibility, frame clearance, tire size and valve type are practical details that can determine whether a product fits.
Daily essentials, work items, groceries, tools and repair gear all influence whether a compact bag, pannier, rack or basket makes the most sense.
Inflation, cleaning, lubrication, fastener checks and basic repair preparation help keep a bicycle setup more ready for regular use.

Commuter and road helmets, visibility gear, mirrors and controls work best when they are selected for the rider, the route and the available mounting space.
Use the sizing information provided for the specific helmet and confirm that the fit is secure and appropriate before riding.
Low light, weather and traffic can make visibility products more important even on familiar routes.
Mirrors, bells and mounted accessories should not interfere with braking, shifting or comfortable hand placement.
Frequently used safety and control gear should be reviewed for looseness, visible damage or reduced function.
Front and rear lights are most useful when their placement, charging routine and visibility match the conditions you regularly ride through.


Handlebar bags, frame bags, saddle bags, panniers, racks and baskets solve different carrying problems. The best choice depends on what you carry and how the weight affects the bicycle.
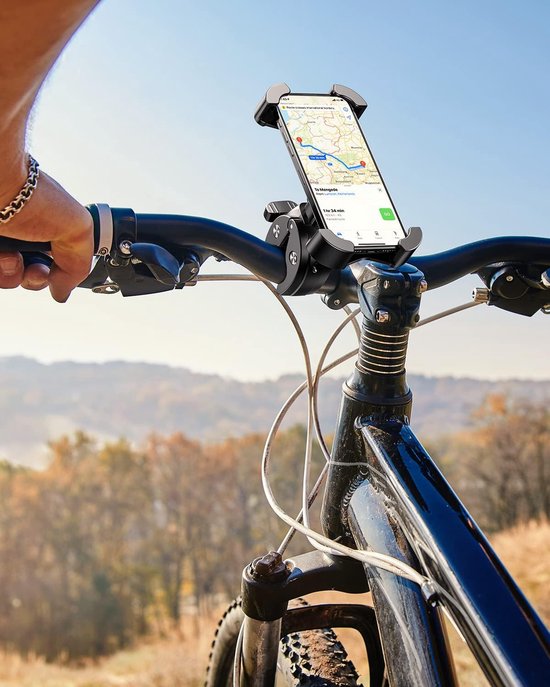
Phone mounts, bottle holders, lights, mirrors and controls can compete for limited space. Plan the cockpit as one system before installing multiple accessories.
Choose a position that keeps the screen readable while preserving comfortable access to brakes, shifters and the normal riding grip.
A front light should not be hidden behind a bag, basket, phone or cable bundle.
Mounting style and available bar-end or handlebar space can determine whether a mirror works with the rest of the setup.
Check bottle and cage space against the frame, bag placement and the movement needed to remove the bottle comfortably.

A useful repair kit is specific rather than generic. Tire dimensions, valve type, wheel setup and the tools used on your bicycle should guide what you carry.
Match replacement tubes and tire-repair products to the tire dimensions and valve type shown on the bicycle setup.
Check pump or inflator compatibility before relying on it for roadside use.
A compact multitool is most useful when its functions match the fasteners and adjustments found on the bicycle.
Knowing how your wheel, tire and inflation setup works can make a roadside issue much easier to handle.
Regular checks do not need to become a full workshop routine. A few recurring tasks can help identify problems before they interrupt the next ride.
Use the recommended range for the tire and review pressure before longer rides or after the bicycle has been stored.
Racks, baskets, bags, lights, mirrors and phone mounts should remain secure and clear of moving parts.
Use cleaning products appropriate for the bicycle component and avoid treating every surface the same way.
Apply maintenance products according to their intended component and remove unnecessary excess where appropriate.

A short pre-ride review can catch simple issues with protection, tires, carrying and mounted accessories before they become distractions on the road.
PedalVale keeps the practical side of cycling clear before and after purchase, with straightforward store standards and support whenever product or order questions come up.

For product fit, compatibility, order support or another PedalVale question, our customer support team is available 24/7.